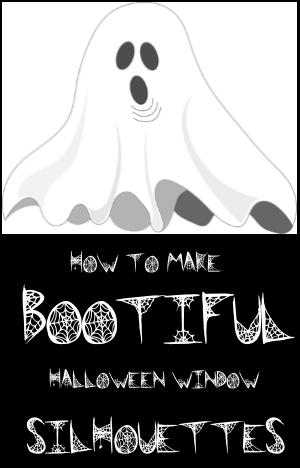
 I’ve said before that I only like Halloween when things are fun and just a wee bit creepy or scary. Too much blood, guts, and gore that is very realistic is not my idea of fun.
Plus, I want all the neighborhood children to enjoy a display, not cry and run away due to severe fright.
So I really appreciate craft projects that take on a cute and friendly Casper the Ghost tone, where you can be a little nervous at what might happen, but you know in the end, it will be alright.
And one way I like to decorate is with Halloween window silhouettes. You often see them in dollar stores. They come in packages of pumpkins, ghosts, witches and goblins and they are made of a clingy plastic film that adheres to a glass pane. I’ve tried them, but they end up falling off before Halloween even arrives. They’re cute, for sure, but I wanted another solution, so this year I am going to try and make my own.
Actually, the kids might help, too. The video says you need the help of your kitten, but kids will do as well. (That was a joke and you will see why when you watch the video at about the one and a half minute point…lol).
Why I Chose To Make Bootiful Halloween Window Silhouettes:
- Easy for anyone to do.
- Doesn’t require expensive supplies. You probably have all of them in your home already.
- Very quick to complete.
- Dramatic and pleasing effect for little work and time.
- For the most part child friendly. Of course, there are a few cautions here depending on the age of the youngster. If too young, they shouldn’t be allowed to do the cutting unsupervised. Likewise, they should not be left alone with the plastic bags. But, older kids can certainly do this craft without help.
Supplies Needed:
Strathmore Sketch Pad
Bic Black Magic Marker
Book of Sketching Papers
Black Magic Marker
Black Bristol Board
Clear or White Garbage Bags
A Very Helpful Pet
Step By Step Instructions:
#1 Find A Simple Picture
- This step is the key to success here and even people that cannot draw will be able to do this.
- Don’t choose a pic with lots of details. Look for something airy and clean lines. This will do two things for you. One, the image will be simple to replicate on the sketch pad. Second, it will be more effective as a silhouette, since it looks like the wind is blowing, which you always need on Halloween, right?
- Remember, simple is always best here when choosing your Halloween image!
To be honest, I can’t draw worth beans, so I have to take my own advice on this one if I don’t want to get frustrated and quit the project before I have even started.
To help you with choosing a picture, I have found four samples that I think will work just fine. These would be great for a children’s party and for trick or treaters to see coming up your walkway on Halloween.
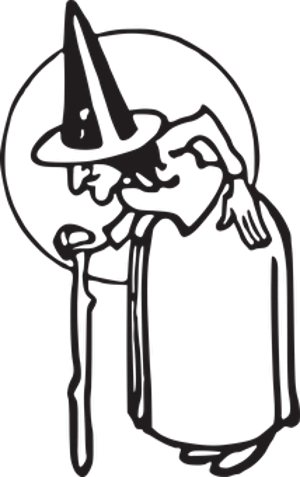
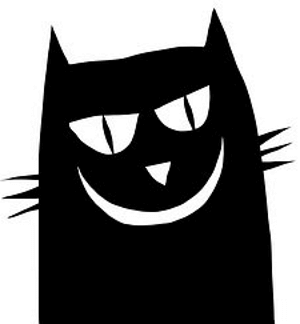
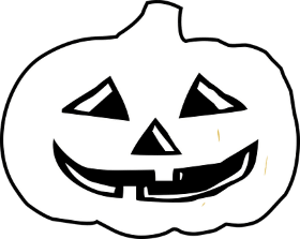
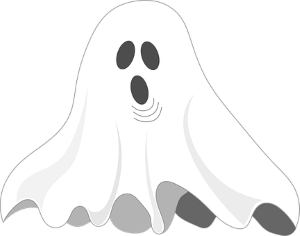
#2 Sketch Out Your Drawing
When you draw your own picture on paper, using the sample one you found as a guide, there are a couple things to do to make it work well as a Halloween window silhouette.
- Use as few lines as possible.
- Don’t add details such as vertical or horizontal lines to make clothing. You are not going to see the exact clothes the image is wearing. Just the wavy outline that viewers will quickly understand.
#3 Draw Over Outline With Magic Marker
Once you have your sketch done, now you need to darken it so it can be seen through the light. To do this requires a couple steps.
- A black marker will work best for making the picture dark.
- The lines you now draw will be wider than the penciled out sketch. This will give the image depth.
- Every time, you do a line, you need to remember to leave gaps to accentuate pieces of the drawing. For example, when you draw over the nose, eyes and mouth. If you leave it flat like the sketch, there will be no light and thus, no nose.
- Color in the areas with the marker.
- Again, leave a white space or gap between the neck and the clothing, so people can understand the body imagery.
#4 Transfer Blackened Sketch To Bristol Board
You want everything dark, which we have been doing thus, far. Now, you take a large piece of black bristol board and copy your darkened sketch to the board. Basically, your sketch outlined with marker is the pattern for the final pieces.
#5 Cut Out Pieces Of Image
If you sew at all, you know that clothing made from patterns is laid out in many pieces. A coat will have quite a few pieces, not just a full coat made of the tissue paper. This is the same thing. You cut the pieces according to each item such as the eye, ears, head, the clothing, cape, or billowing sheet.
#6 Remove Small Dots
Sometimes, things like the eye look better with the center dot removed. When sketching out, it looks good on paper with the dot to emphasize the center of the eye, but on the bristol board, removing the dot completely allows the light to come through and makes the eye bigger.
#7 Lay Out Pieces In Order
Place everything on the floor or table arranged so that it makes the image you drew. If need be, tape the pieces together to keep everything where it belongs.
#8 Cut Garbage Bags
Use some clear or white garbage bags, cutting them to fit over the whole window. Then tape them to the window to make a film.
#9 Unmask Your Monster, Goblin or Ghoul
Apply your image to the bags, and now you have a really cute, but scary decoration for Halloween.
Conclusion:
I honestly believe that this project is easy enough for most people to complete. As I mentioned, I cannot draw, but ended up being able to do this because I picked the right picture to copy. Also, it is very quick to go from start to finish in maybe an hour or shorter. The project is not laborious at all, and the whole family enjoyed doing it.
Finally, for those of you that absolutely don’t have the time or energy to create your own cute and funny Halloween window silhouette, I’ve provided an inexpensive selection here that you can browse.
